Laravel 11 is a powerful PHP framework that simplifies web development, offering an expressive syntax, rich ecosystem, and many built-in features. Here’s a detailed guide on installing Laravel 11, covering prerequisites, installation steps, and post-installation configurations.
Prerequisites for Laravel 11 Installation
Before you begin installing Laravel 11, ensure your system meets the following requirements:
1. PHP Version
Laravel 11 requires PHP 8.2 or higher. Verify your PHP version by running:
php -v
If your PHP version is lower than 8.2, update it. Depending on your operating system, you can upgrade PHP using tools like `apt`, `yum`, or a package manager like `brew` on macOS.
2. Composer
Composer is the dependency manager for PHP and is required to install Laravel. Ensure it’s installed by running:
composer --version
If not installed, download it from [getcomposer.org](https://getcomposer.org).
3. Database
Laravel supports databases like MySQL, PostgreSQL, SQLite, and SQL Server. Install and configure your preferred database.
4. Web Server
A web server such as Apache or Nginx is required. Install and configure one of them before proceeding.
5. Node.js and npm (Optional but Recommended)
To use Laravel Mix for front-end asset compilation, install Node.js and npm:
node -v
npm -v
If not installed, download Node.js from [nodejs.org](https://nodejs.org).
Installing Laravel 11
There are multiple ways to install Laravel. Below, we explore the three most common methods.
Method 1: Using Composer
The most straightforward way to install Laravel is via Composer.
1. Run the Laravel Installer Command
Open your terminal and run:
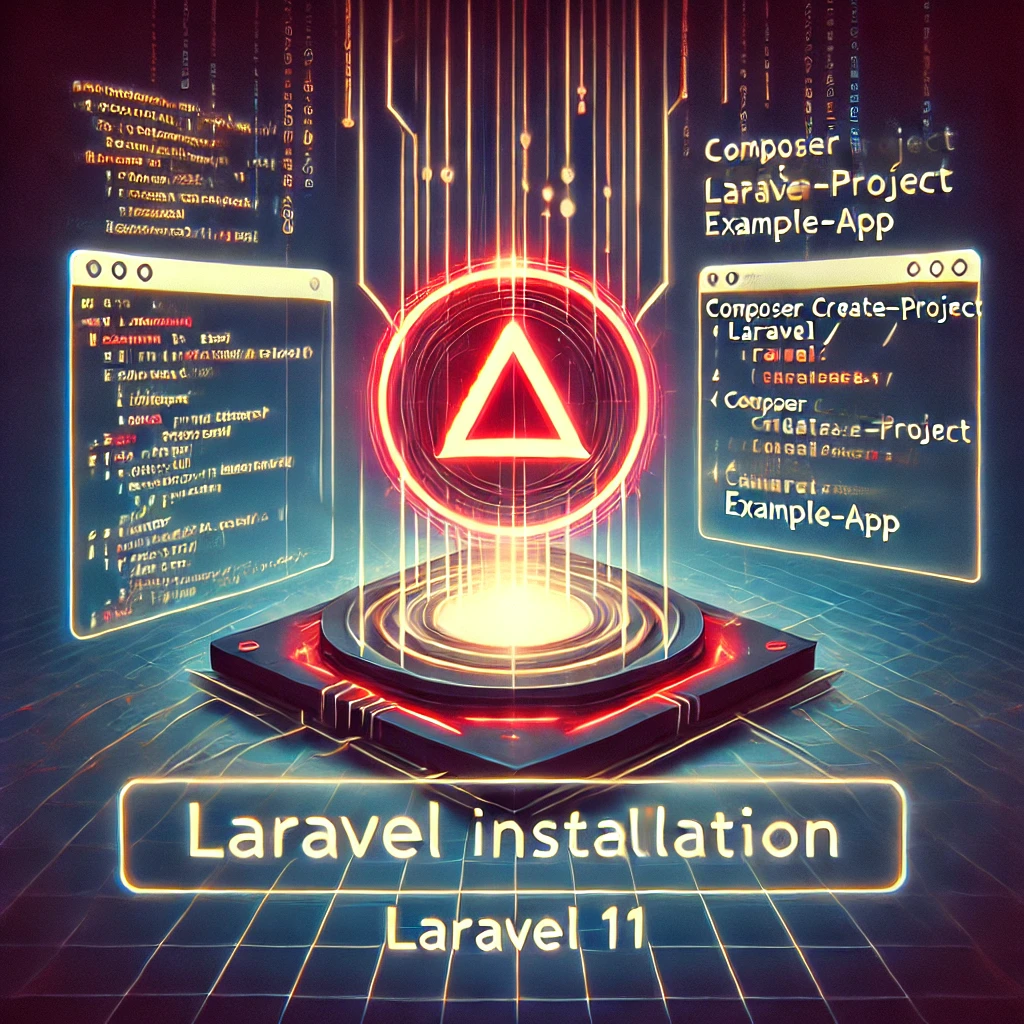
composer create-project --prefer-dist laravel/laravel blog
Replace `blog` with your project name. This command downloads the latest Laravel 11 release and sets up your project structure.
2. Navigate to Your Project Directory
cd blog
3. Serve the Application
Use the built-in development server to serve the application:
php artisan serve
This command starts the server at `http://127.0.0.1:8000`.
Method 2: Using Laravel Installer
The Laravel Installer provides a quicker way to scaffold new applications.
1. Install Laravel Installer
Run the following command to install the Laravel installer globally:
composer global require laravel/installer
2. Create a New Laravel Project
With the Laravel installer installed, create a new project:
laravel new blog
3. Navigate and Serve
Move into your project directory and serve the application:
cd blog
php artisan serve
Method 3: Cloning a Git Repository
If you are working on an existing Laravel 11 project, you can clone it from a repository.
1. Clone the Repository
git clone https://github.com/username/project-name.git
2. Navigate to the Project
cd project-name
3. Install Dependencies
Run Composer to install the necessary PHP dependencies:
composer install
4. Set Up the Environment
Copy the `.env.example` file to `.env`:
cp .env.example .env
Open the `.env` file in a text editor and configure database credentials and other settings.
5. Generate the Application Key
Run the following Artisan command to generate the application key:
php artisan key:generate
6. Run Migrations
Set up the database structure using migrations:
php artisan migrate
Post-Installation Steps
1. Verify the Installation
Open your browser and visit `http://127.0.0.1:8000` to verify that Laravel 11 is installed successfully.
2. Configure the Environment
Modify the `.env` file to match your environment settings, such as:
– Database credentials:
DB_CONNECTION=mysql
DB_HOST=127.0.0.1
DB_PORT=3306
DB_DATABASE=laravel
DB_USERNAME=root
DB_PASSWORD=password
– App URL:
APP_URL=http://localhost
3. Set File Permissions
Ensure the `storage` and `bootstrap/cache` directories are writable:
chmod -R 775 storage bootstrap/cache
4. Install Node.js Dependencies
If your application uses front-end assets, install the required dependencies:
npm install
Compile the assets using Laravel Mix:
npm run dev
5. Set Up Version Control
Initialize a Git repository and add a `.gitignore` file to exclude unnecessary files:
git init
echo "node_modules/" >> .gitignore
echo "vendor/" >> .gitignore
6. Optimize the Application
For production, optimize the application for better performance:
php artisan optimize
Common Issues and Troubleshooting
1. Missing PHP Extensions
Laravel requires specific PHP extensions, such as:
– `pdo`
– `mbstring`
– `openssl`
Install missing extensions based on your system’s package manager. For example, on Ubuntu:
sudo apt install php8.2-mbstring php8.2-pdo php8.2-openssl
2. Permission Issues
If you encounter permission issues, run:
sudo chown -R $USER:www-data storage bootstrap/cache
3. Composer Outdated
Ensure Composer is up-to-date:
composer self-update
4. Port Conflicts
If `php artisan serve` fails, specify an alternative port:
php artisan serve --port=8080
Conclusion
Installing Laravel 11 involves meeting system requirements, setting up dependencies, and configuring your environment. Whether you use Composer, the Laravel Installer, or clone an existing repository, Laravel’s robust framework will streamline your development process. Follow best practices for file permissions, environment configurations, and optimization to ensure your Laravel application runs smoothly.